
After breaking open the toy I popped out a piece from the back and slipped the wires out of the new hole.
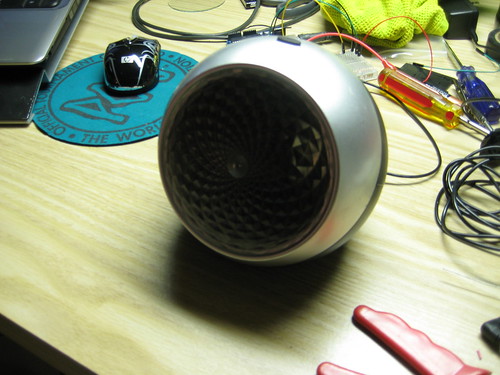
Before adding a sensor I wanted to make sure I could hack it and ran it with a simple blink code.
After doing this I was able to manipulate the function by making it strobe on and off. Success!

Now it's time for the photo resistor.
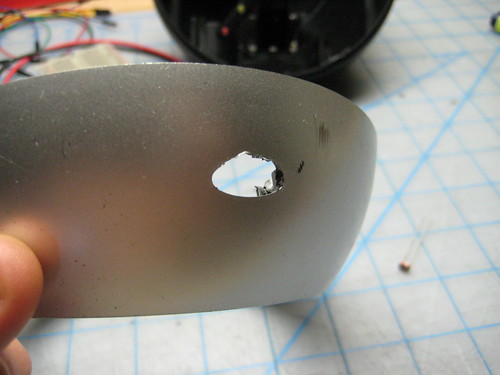
I removed the button to replace it with the photo resistor.
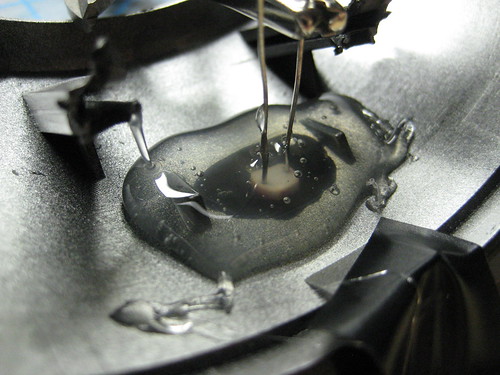
Set the resistor with hot glue.
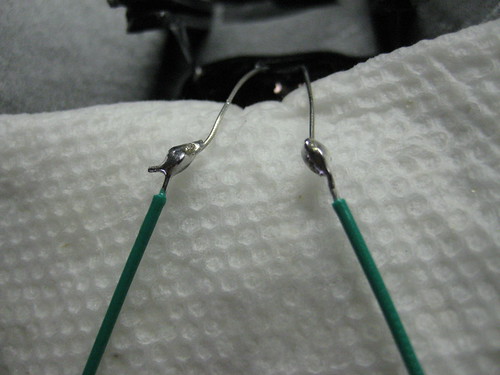
Solder some wires to it.
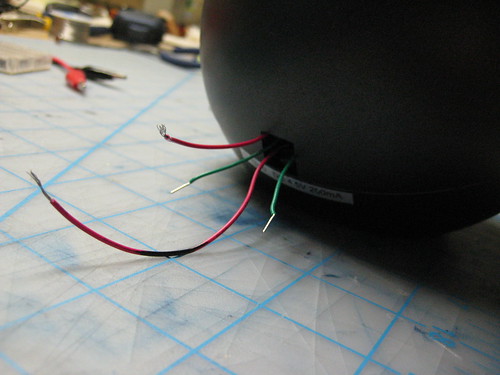
Pull out the wires.
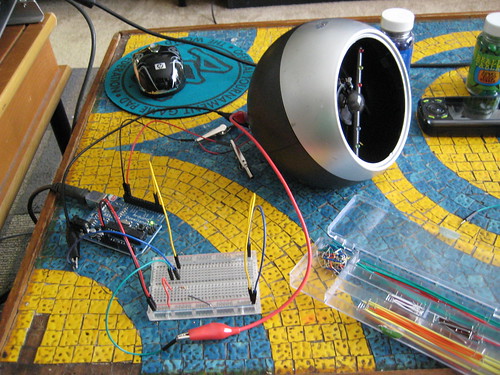
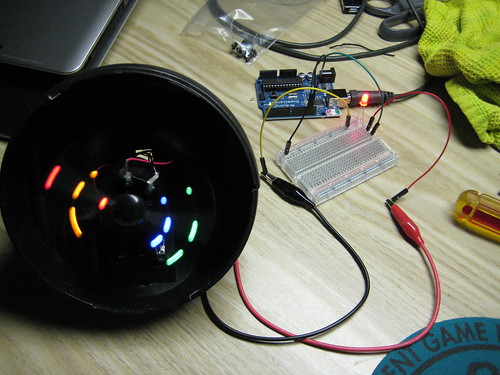
Wire it up to the arduino.
Lights on...
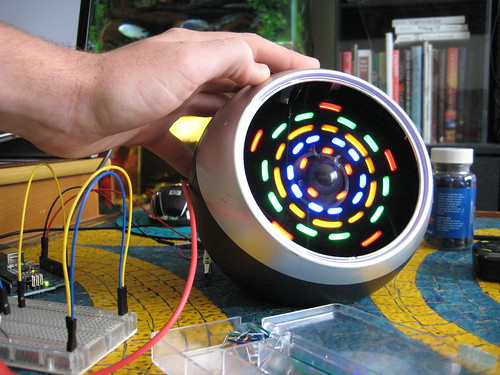
Lights off...
The code I used is very simple. It's a combination of the example blink and button.
Here's the code:
/*
photo resistor as a Button
Turns on and off anything connected to digital
pin 13, when pressing a pushbutton attached to pin 2.
The circuit:
* LED attached from pin 13 to ground
* pushbutton attached to pin 2 from +5V
* 10K resistor attached to pin 2 from ground
* Note: on most Arduinos there is already an LED on the board
attached to pin 13.
created 2005
by DojoDave
modified 17 Jun 2009
by Tom Igoe
http://www.arduino.cc/en/Tutorial/Button
modified june 2010
by Richard Meacham
http://interactivesquared.blogspot.com/
*/
// constants won't change. They're used here to
// set pin numbers:
const int buttonPin = 2; // the number of the pushbutton pin
const int ledPin = 13; // the number of the LED pin
// variables will change:
int buttonState = 2000 ; // variable for reading the pushbutton status.
void setup() {
// initialize the LED pin as an output:
pinMode(ledPin, OUTPUT);
// initialize the pushbutton pin as an input:
pinMode(buttonPin, INPUT);
}
void loop(){
// read the state of the pushbutton value:
buttonState = digitalRead(buttonPin);
// check if the pushbutton is pressed.
// if it is, the buttonState is HIGH:
if (buttonState == HIGH) {
// turn LED on:
digitalWrite(ledPin, HIGH); // set the LED on
delay(500); // wait for a second
digitalWrite(ledPin, LOW); // set the LED off
delay(250); // wait for a second
}
else {
// turn LED off:
digitalWrite(ledPin, LOW);
}
}
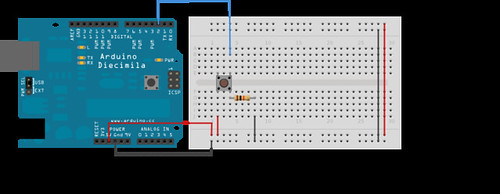
And the wiring diagram:
No comments:
Post a Comment